
When digging through my stash, I found I had two half-skeins of 8-ply merino wool, the familiar leftover amount that is seldom enough for a project in itself - but, as it turns out, sufficient if you happen to have two that can be used together.
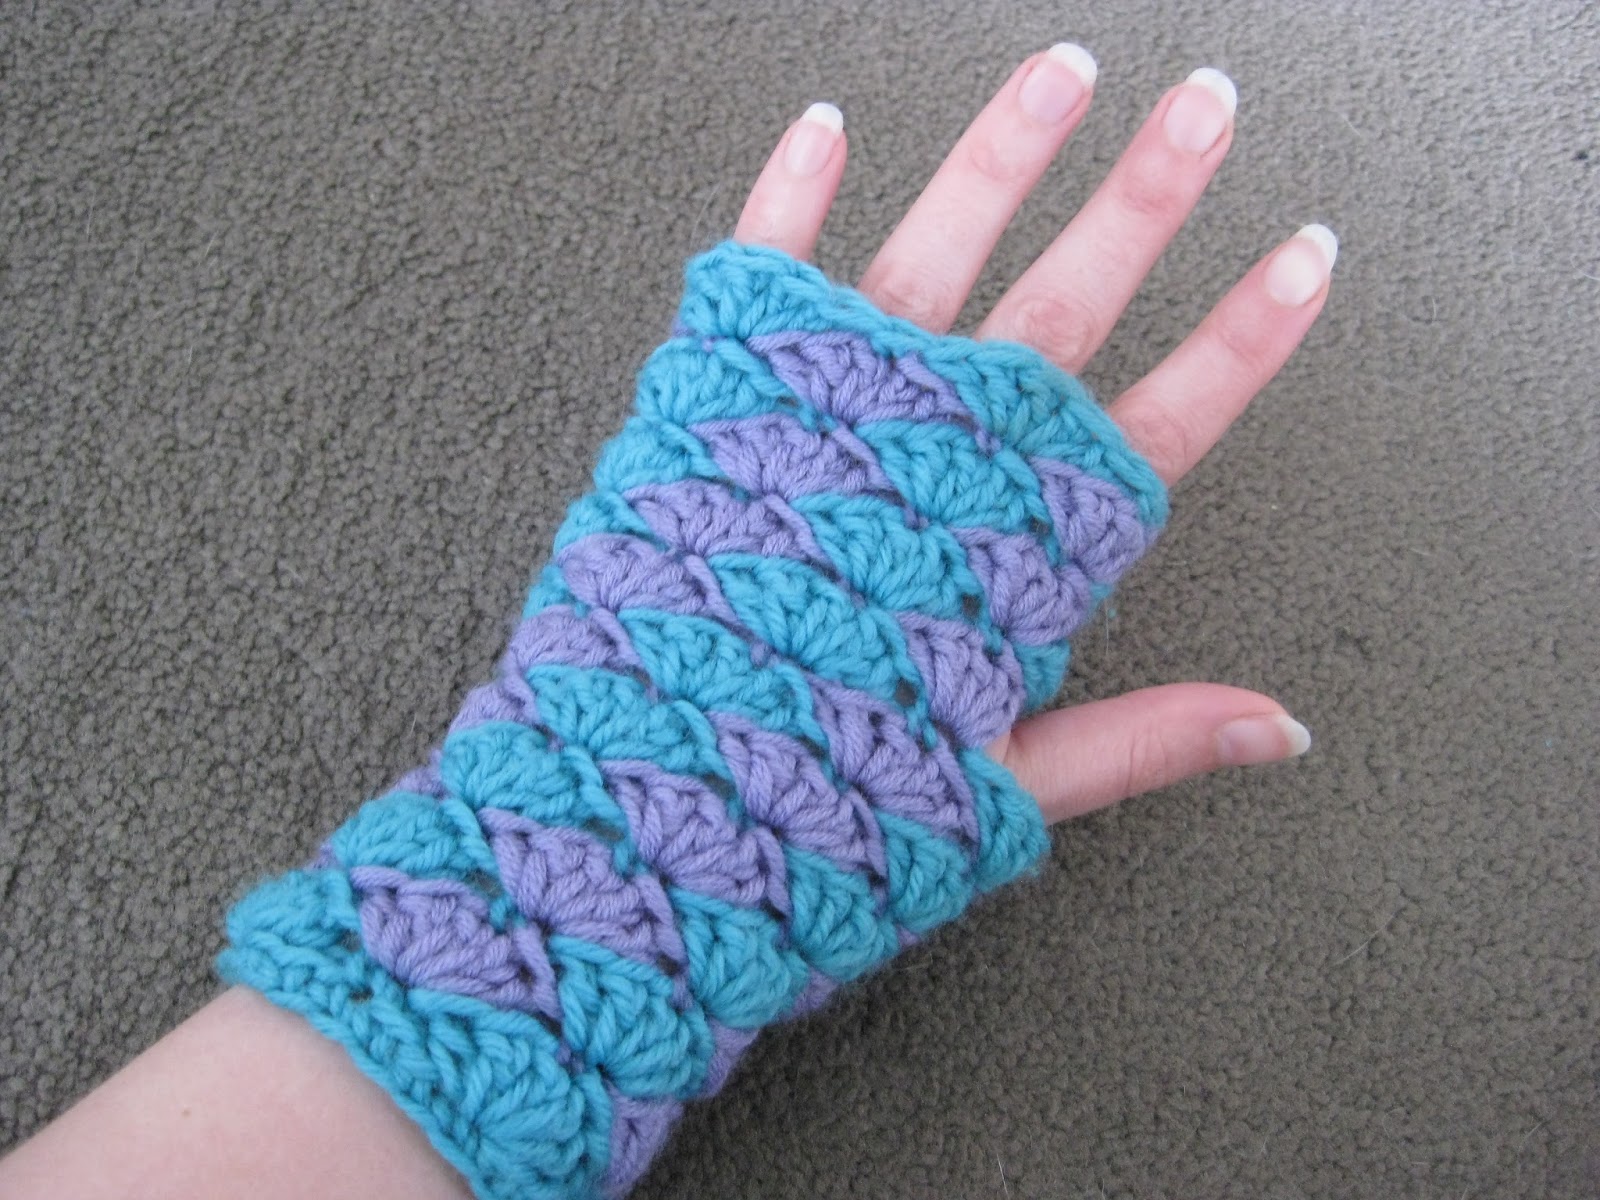
The two half-skeins were different brands and different colours, but similar enough in weight and texture to work in a single project. And what else would Auntie Mitten make, but mittens? I immediately pictured fingerless mittens in a shell-stitch - simple enough that I could come up with a pattern myself, with a little trial and error.

It wasn't difficult to make a basic tube shape with a hole for a thumb. My biggest concern was whether I had enough yarn to complete both mittens. To ensure I didn't run out, I located both ends of each skein of yarn, and worked on both mittens at once, alternating from one to the other, making a few rows at a time. It takes a bit of manoeuvering to keep the four separate strands from tangling, but it means you can judge how much yarn is left and how many rows you can afford to make over the wrist and fingers.
The resulting mittens are really quite cute. Mum immediately put her hand up for a pair, so I made her some using leftover yarn from a baby blanket made some time ago. The baby yarn was finer than the merino, so I added an extra shell to each row, and used a smaller hook so the stitches weren't too open.
 Below are the instructions for these very simple mittens. This is my first attempt at writing a pattern, so I hope I've made it clear enough. I've used US crochet terminology (UK terminology is actually more traditional in New Zealand, but I learnt to crochet online).
You can adjust the length by adding or subtracting rows, and/or widen them by adding shells - just keep to multiples of six in your foundation chain and the shells will work out fine.
Mitten's mittens
5.5 hook
8ply merino in two contrasting colours
Stitch markers (I use safety pins)
Ch = chain
St = stitch
Sk = skip
Sl st = slip stitch
Sc = single crochet
Dc = double crochet
Shell = 5 dc in same stitch

Note: Ch3 counts as dc throughout. In places you will be stitching past the stitch-marked loop on the round below. Keep the stitch-marked loop to the front of your work and continue as for any other stitch.
Base ring: ch 24 with colour 1. Turn chain over and sc in spine of each ch. Join with sl st to make a ring.
Row 1: (sk 2 st, shell, sk 2 st, sc) 4 times. 3 sl st to top of shell. Do not fasten off; place safety pin or stitch marker in loop.
Row 2: with colour 2, sl st into last sc in previous row. Ch3, 2dc in same st. Sk 2 st, sc in centre dc of shell. (Sk 2 st, shell, sk 2 st, sc) 3 times. Sk 2st, 2dc in same sc as beginning of round. Sl into top of ch3. Do not fasten off; place stitch marker in loop.
 Row 3: remove marker from loop 2 rounds below and insert hook in loop. Sl st into sc immediately
 above. Ch3, 2dc in same st. Sk 2 st, sc in centre dc of shell. (Sk 2 st, shell, sk 2 st, sc) 3 times. Sk 2st, 2dc in same sc as beginning of round. Sl st into top of ch3. Do not fasten off; place stitch marker in loop.
Row 4-11: repeat row 3.
Row 12: (create thumb hole): as for previous rounds, but replace sc between 1st and 2nd full shells with a ch1.
Row 13: as for round 3. When you reach the thumb hole, stitch into the ch1 as for sc in other rows.
Row 14-17: as for round 3.
Instructions for second mitten are identical except for row 12. In row 12, ch1 for thumb hole between 3rd and 4th (4th= shell with join) shells rather than between 1st and 2nd. This will mean both mittens have the chain-seams on the palm.
No comments:
Post a Comment